Today, I managed to find some time to try out a Raspberry Pi Pico module that had been awaiting my attention at the lab for some months. More details about this module can be found in their website's documentation. The following are the steps that I followed to get their default LED blink example running on the module. I tested this on a computer running Ubuntu 20.04.
Get the SDK:
mkdir RPi-Pico-Stuff
cd RPi-Pico-Stuff/
git clone https://github.com/raspberrypi/pico-sdk.git --branch master
cd pico-sdk/
git submodule update --init
cd ..
git clone https://github.com/raspberrypi/pico-examples.git --branch master
sudo apt update
sudo apt install cmake gcc-arm-none-eabi libnewlib-arm-none-eabi build-essential libstdc++-arm-none-eabi-newlib
cd pico-sdk/
git pull
git submodule update
cd ..
Build the examples (including Blink):
cd pico-examples/
mkdir build
cd build/
export PICO_SDK_PATH=../../pico-sdk
cmake ..
cd blink/
make -j4
Loading the executable to Raspberry Pi Pico module:
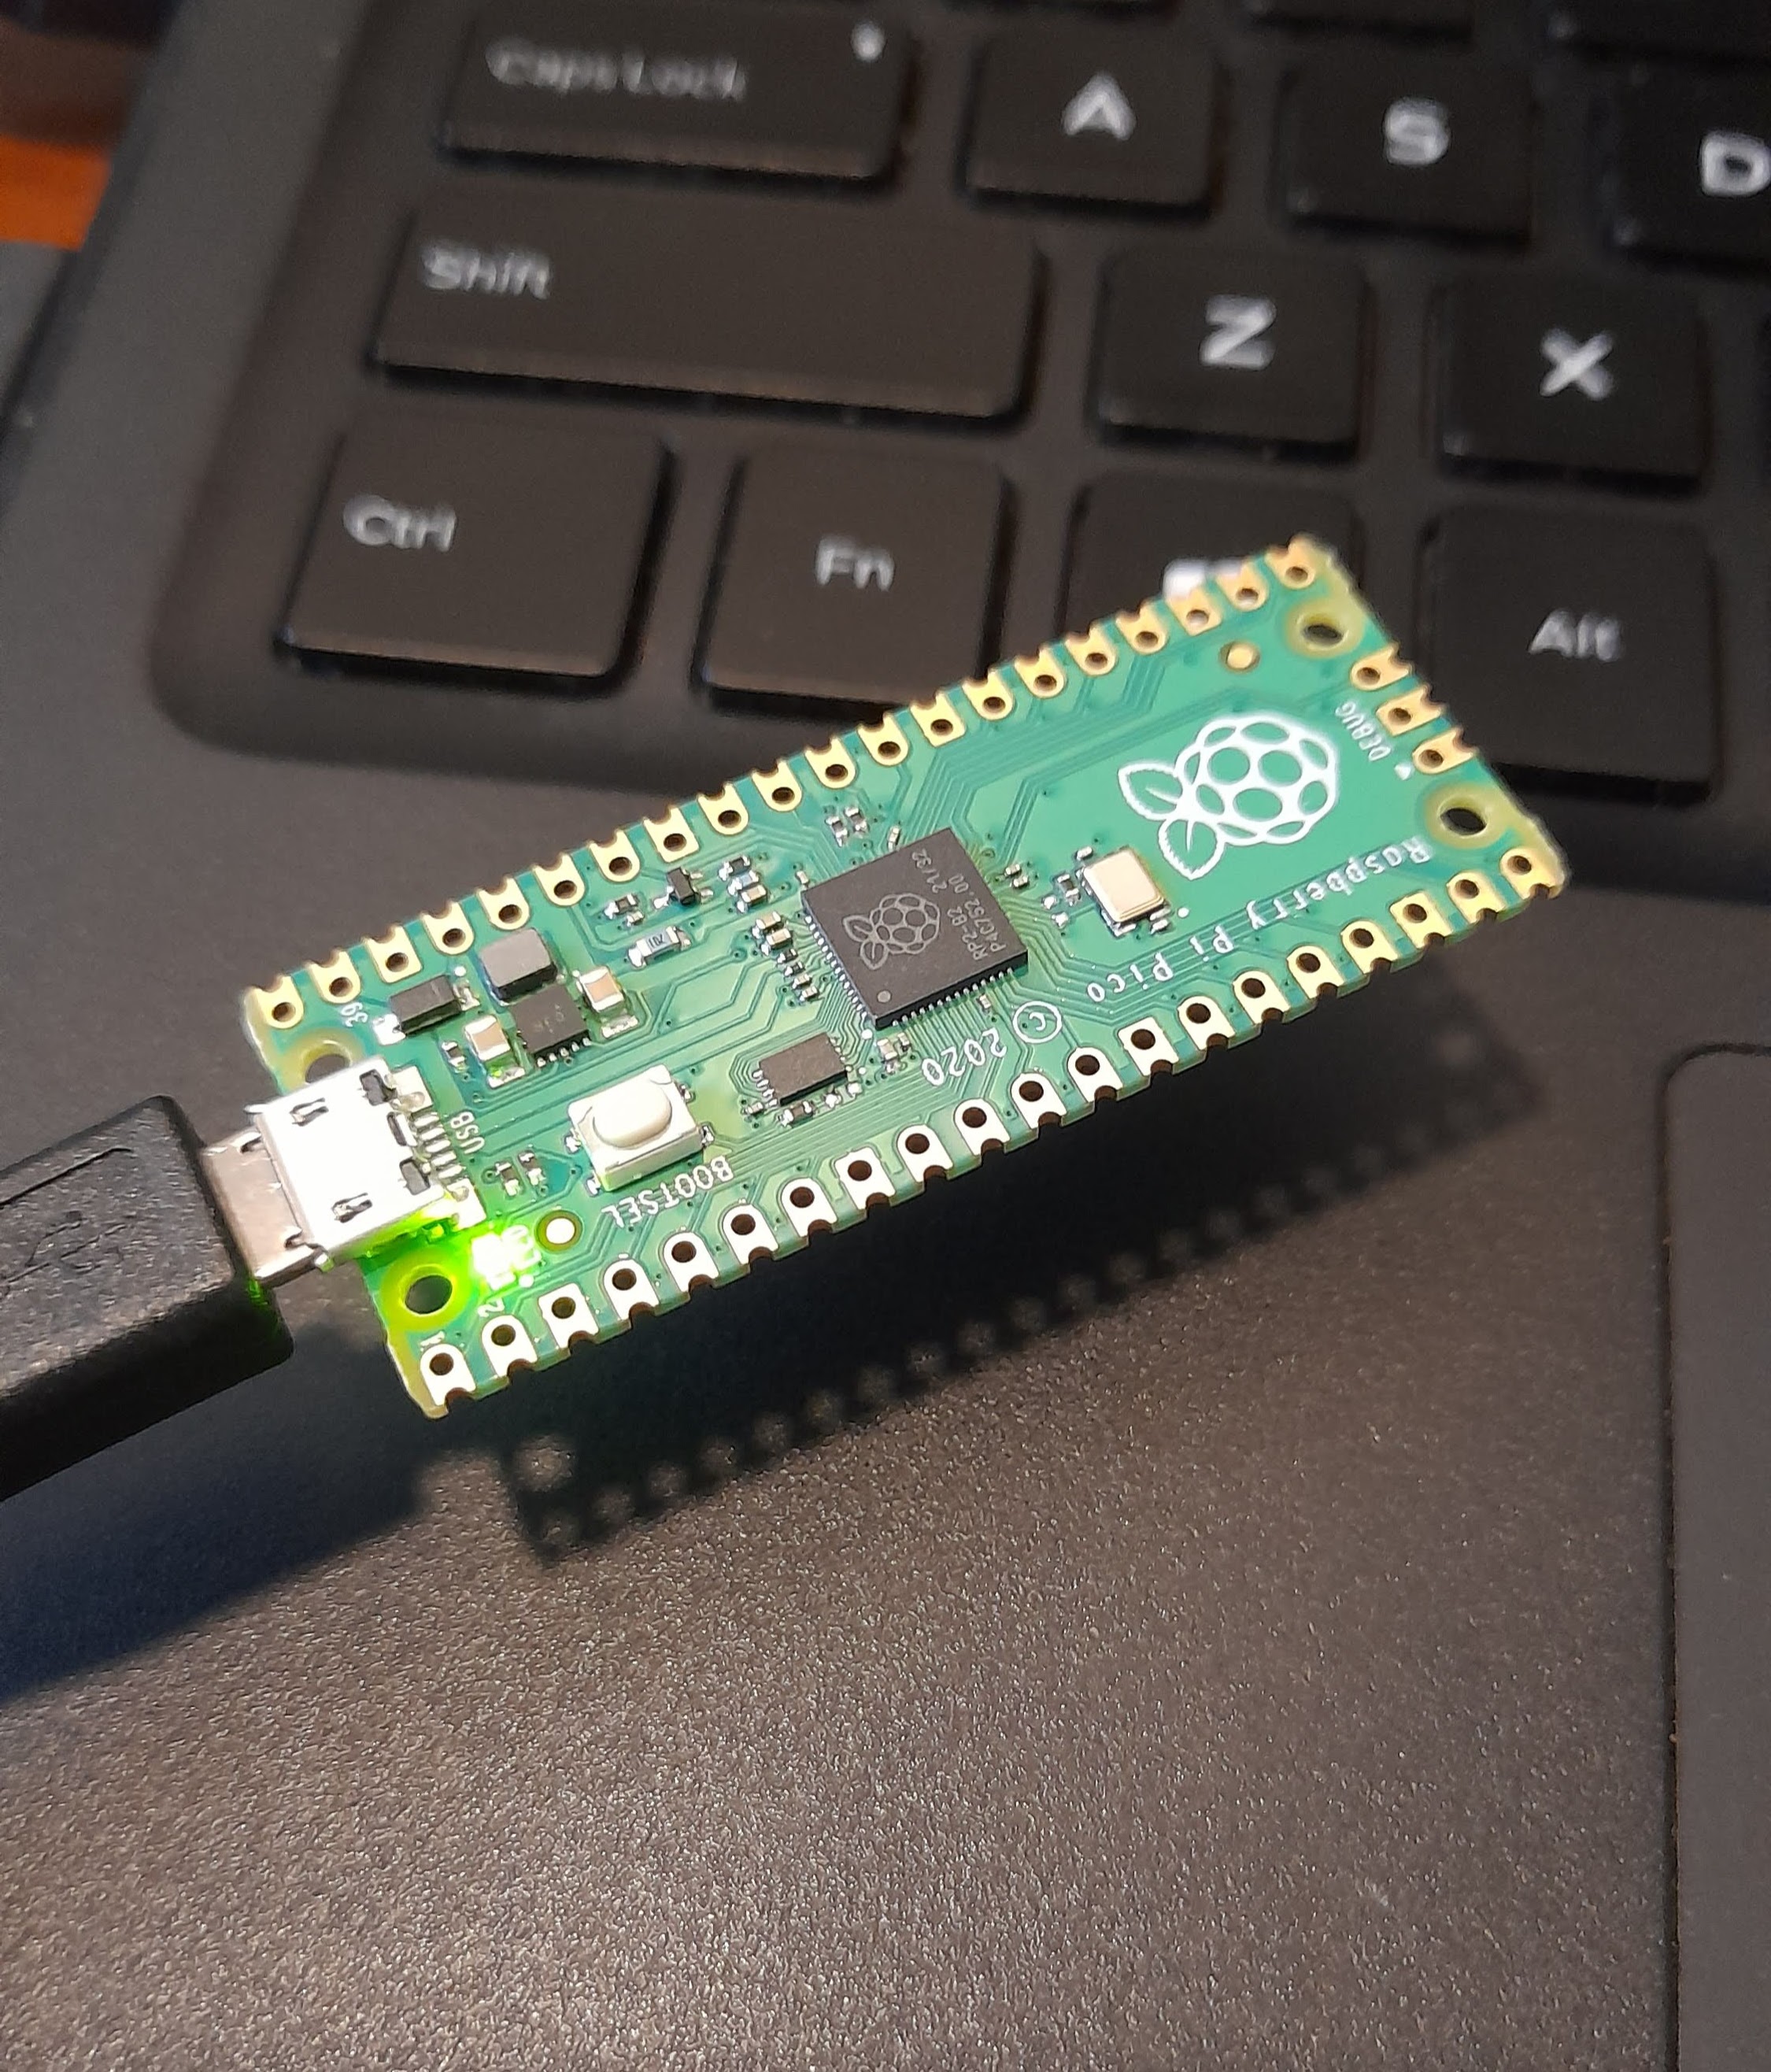
While press-and-hold the BOOTSEL button on the Raspberry Pi Pico module, connect it to the USB port of the computer. It will mount the module as a USB mass storage device to the computer. Now, copy the "blink.uf2" file in the build/blink directory into the mounted USB mass storage device. The executable file will immediately start running on the device, which makes the Raspberry Pi Pico device to blink its onboard LED.
The blink program looks like the following.

The programmed device blinks its built-in LED continuously as follows.
No comments:
Post a Comment